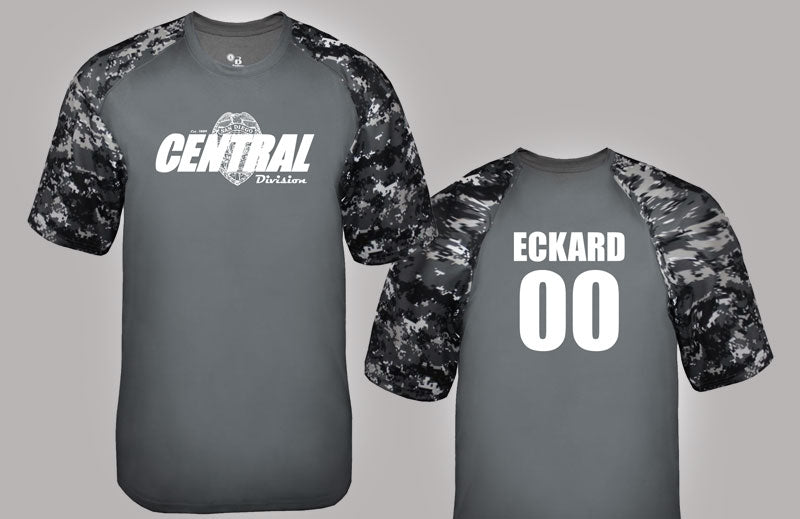
Custom Designed T Shirts
Home of Compressed T-Shirts
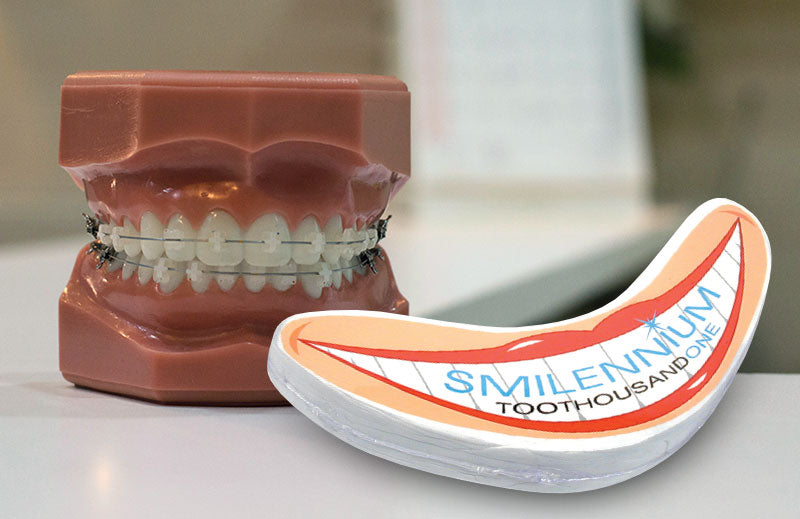
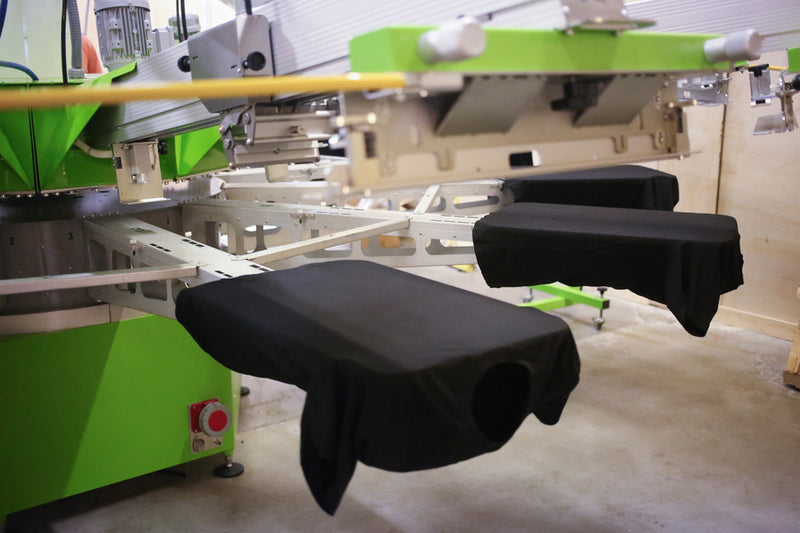
Ever wanted to screen print custom t shirts? Using a silk screen can be a daunting task at first. The best advice would be to seek out t shirt printing services, especially if you are looking to promote a business, product, or organization.
Why Screen Print Custom T Shirts?
From 2009 to 2014, the t shirt industry has grown more than 24.2%, with 95% of Americans claiming they wear t shirts. Clearly, custom print tees are a major fashion trend — as well as a successful marketing strategy. Individuals and companies alike can order inexpensive printed t shirts and see a huge return of investment in promotions marketing. Due to the increase in t shirt use for marketing purposes, the promotional products industry revenue increased by $18.5 billion in 2011.
Making Custom T Shirts:
Before you order your screen print custom t shirts from a professional t shirt printing company, you may want to see how your design looks on a shirt before making the investment. Here are a few simple steps to making your practice custom t shirt.
1. Gather Supplies: Purchase a screen and frame at an arts and crafts store. Next, you will need photo emulsion and sensitizer to make sure your image and/or lettering sticks. Don’t forget to grab a 250 watt lightbulb, latex gloves, and a squeegee (to pull the paint down the frame). Silk screen fabric ink is also needed — anything else will wash off. Also find a small piece of cardboard to put inside the shirt. Last but not least, purchase some quality t shirts for printing.
2. Create Image: If you’re just a beginner, start simple and use block lettering. Thin lines can be tricky, so make sure the text is bold. Also creating a silhouette image using Photoshop is a creative and simple design strategy.
3. Coat Screen in Emulsion: Mix the sensitizer and emulsion together according to the directions. Lay the screen on a garbage bag, then pour a small amount of the mixture on the screen. Spread it out with the squeegee; it should cover an area slightly larger than the image you plan on printing. Once you have an opaque layer, place the screen in a pitch black room for two hours, or until dry.
4. Expose the Image: In the dark room, lay down a black cloth or board, then put down the screen and frame with the screen-side down. Next, place the transparency of your image you designed on top, where the photo emulsion is. Tape this down, place a 250 watt lamp two feet above the screen, and leave the room. Wait 10 to 15 minutes.
5. Clean the Screen: After exposing the image to light, spray the screen with cold water from a hose, sink, or shower. Continue to spray the screen until the image can be seen clearly. Let the screen dry, then cover the exposed parts with tape.
6. Print: Put your shirt on flat surface, place the cardboard inside the shirt, and lay the screen over the shirt — make sure the design is where you want it. Put a small amount of ink across the top of the screen, take the squeegee and in one movement pull the paint down to the bottom. Push the paint left, right, up, and down. Then take the cardboard out and admire your work.